Oh, this is a great idea!! It looks like a fun project for the kids, and it adds a really nice touch to your cards!

Hobbies
4

This year we decided to try a new technique for sealing our Christmas cards. It’s an “old” tradition from times long ago. A few girls in our co-op have been doing wax sealing for awhile and their excitement over it sparked our interest! We bought the wax and stamp at a local craft store and gave it a try.

Our first attmpts didn’t look very good. One day while we were in town, we called one of Emily’s friends to see if we could stop by and see (you all know how VISUAL I am) how she does hers. We found that we were doing it right and only needed to modify the technique a bit. We tried a few, took them to the post office to make sure they were still within the weight limit for one stamp, mailed a few to make sure they weren’t damaged in the mailing process, etc. All of that took time! But, we STILL managed to get our Christmas cards out BEFORE Christmas this year… an improvement over last year when I never made it past adhering the address and return address labels (LOL). It gave me a headstart on this year, I suppose.
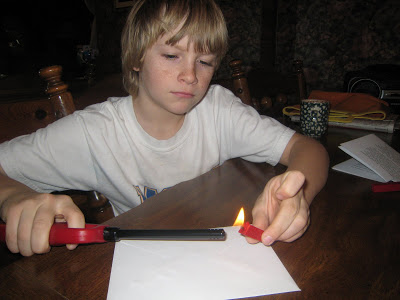
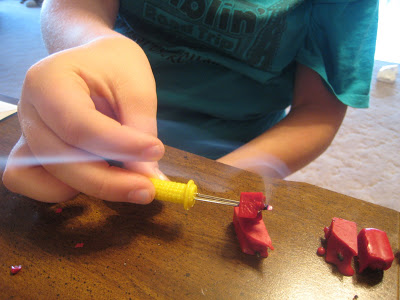
Wax Sealing: Lighting the wick on the special sealing wax.

waiting for the wax to get hot enough to start melting and dripping onto the envelope


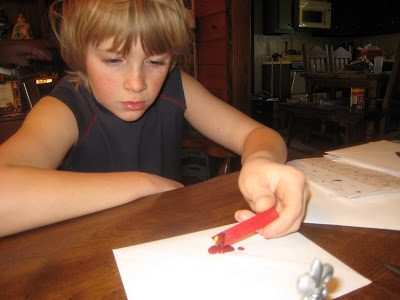
letting the wax get thick enough and moving the stick around so the drips make a circle


it took us a dozen or so tries to figure out the right amount of wax. After there is just enough you let it set for a few seconds then gently apply light pressure from the stamp. Wax will start to squeeze out from under the stamp.

We found that we could make a nicer circle if we did this part slowly while moving the stamp a little in either direction to control where the squeezed wax comes out… trying to make a better circle each time.
After the wax is spread out, apply more pressure and hold the stamp down for a bit.


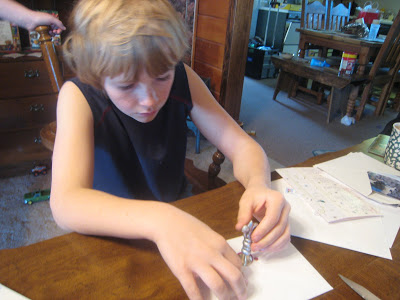 gently wiggle the stamp lose from the wax and there is your seal. Pretty cool, huh?
 When the wax stick became too short to handle we used corn holders (LOL). I just couldn’t see wasting even the smallest amount!
 Here’s what’s left of the wax from this year’s mailing.
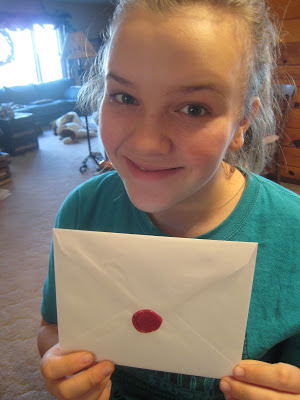
 All finished and ready to mail.